Description
what is prototype PCB assembly?
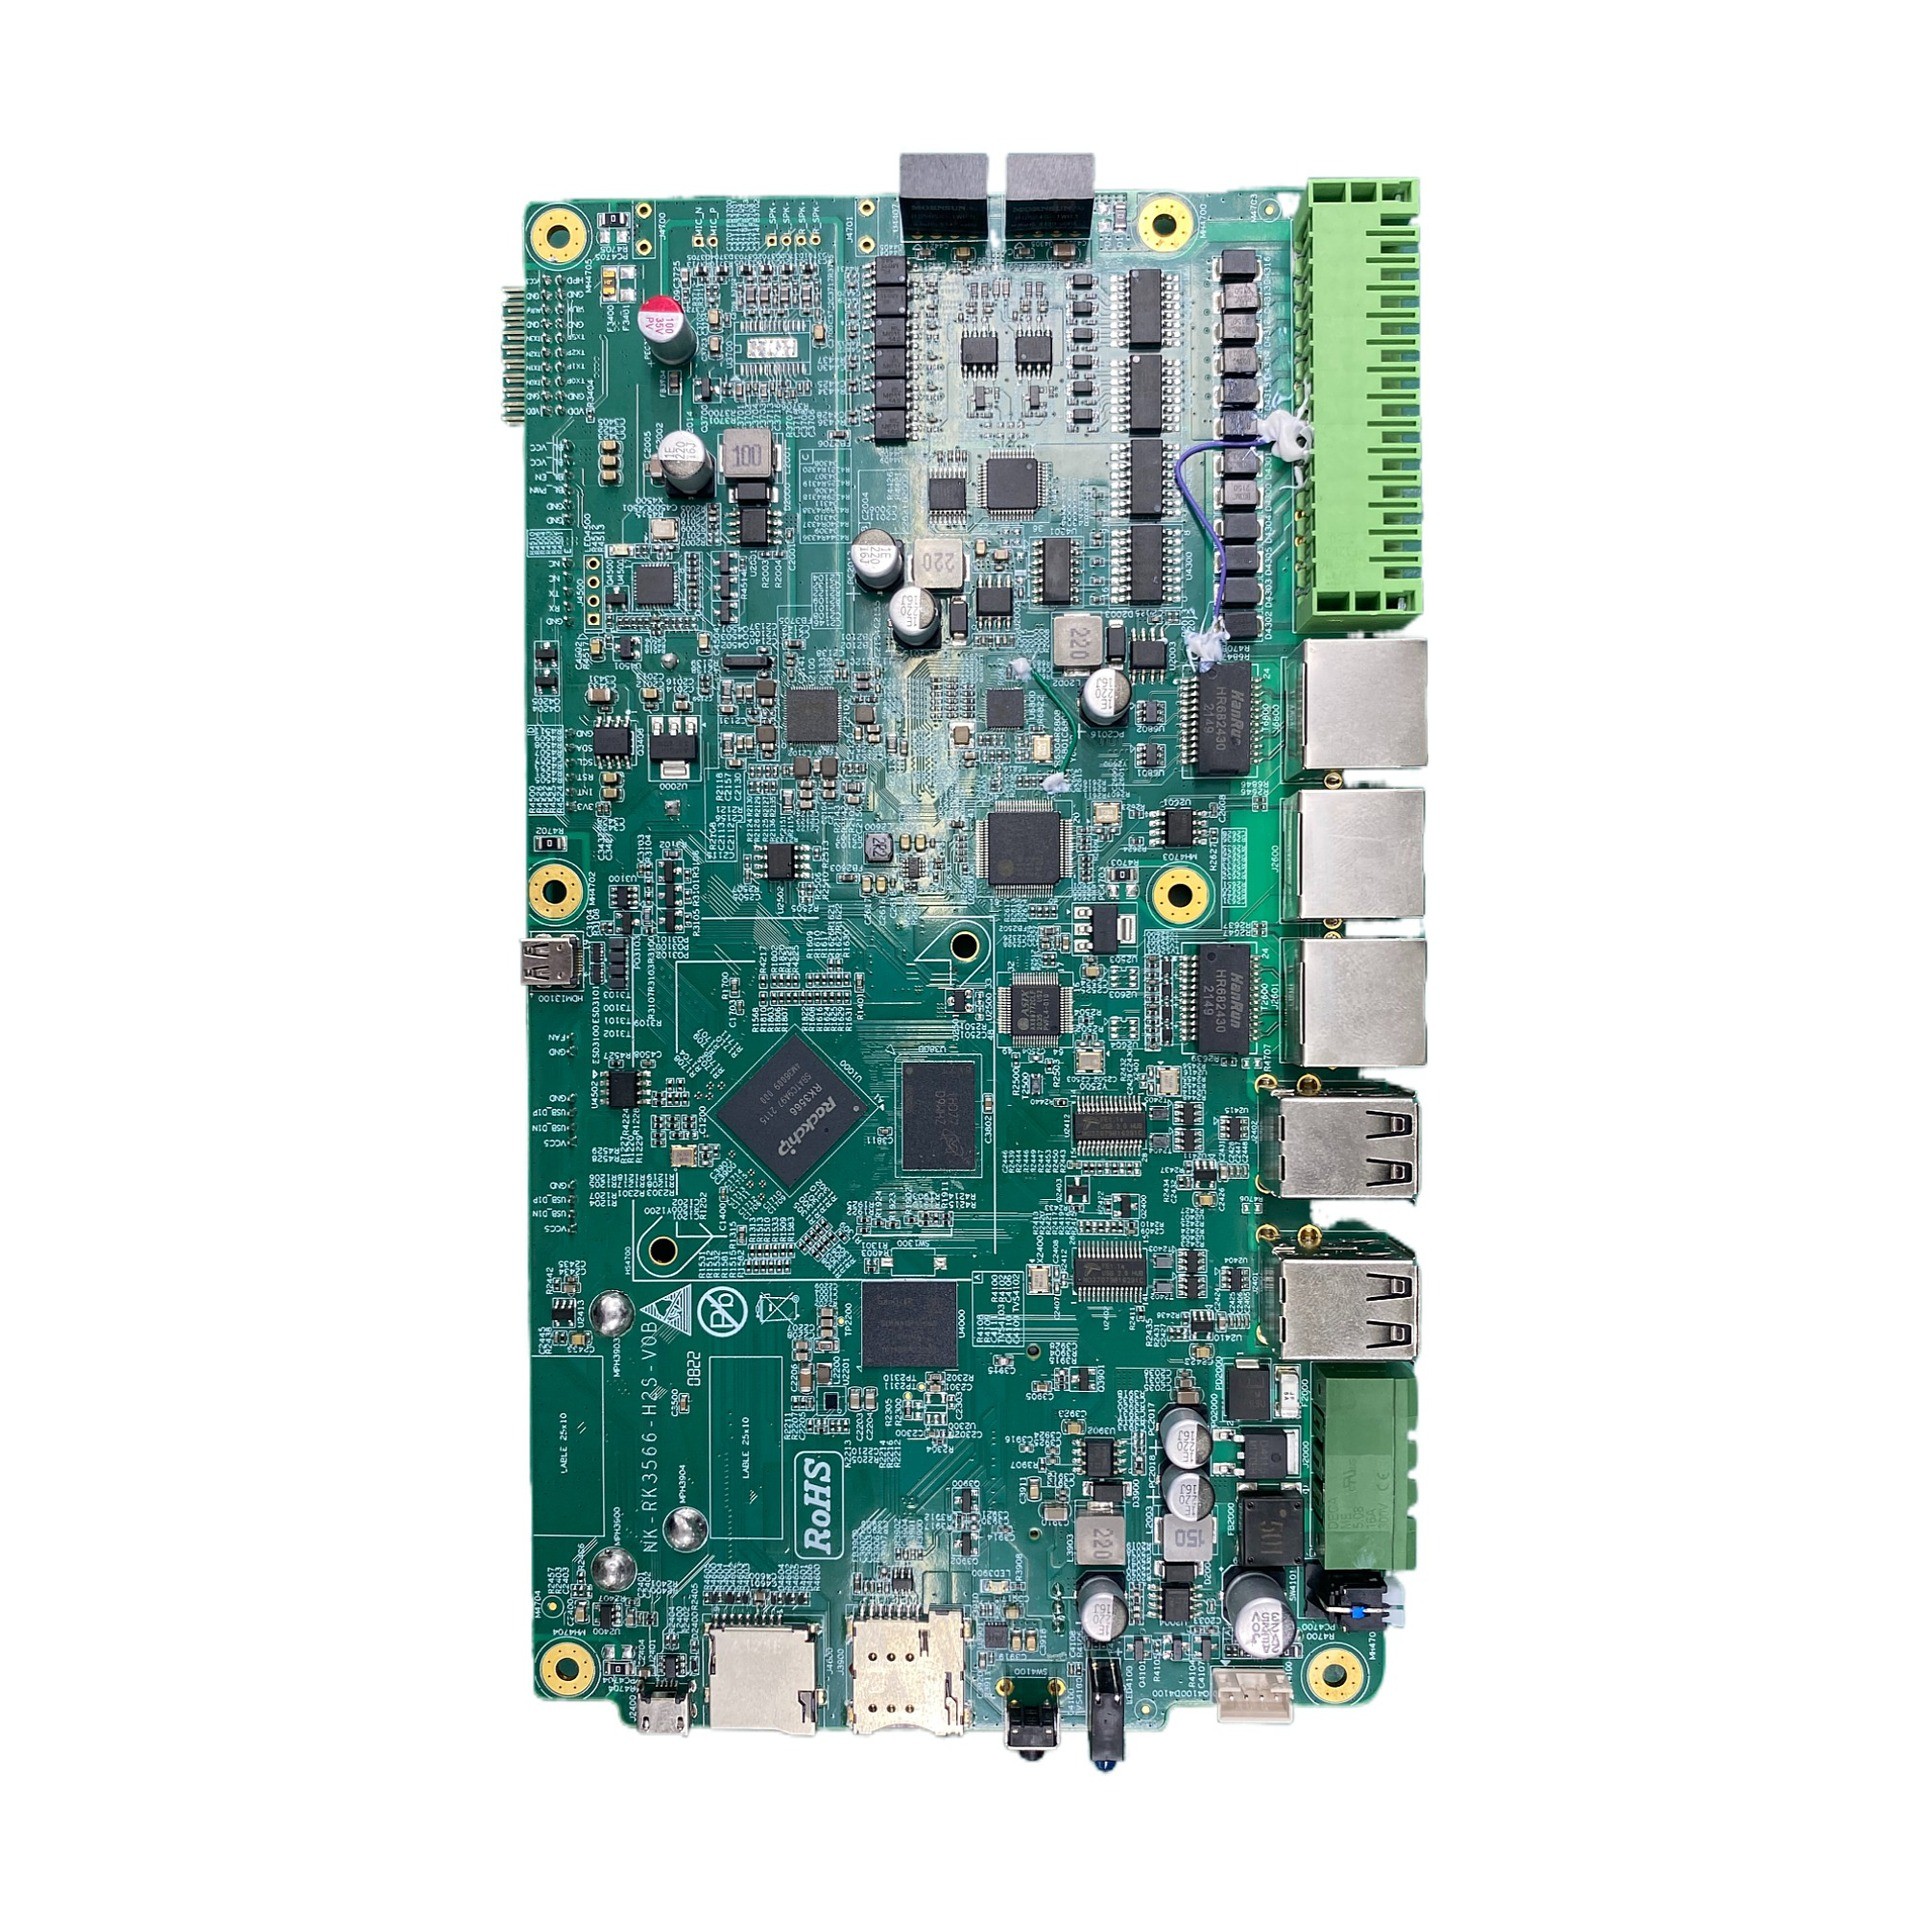
"Prototype PCB assembly" refers to the process of assembling electronic components onto a Printed Circuit Board (PCB) during the prototype stage of a product's development. It involves soldering or attaching various components such as resistors, capacitors, integrated circuits, and connectors onto the PCB to create a functional circuit board for initial testing and validation of the design. The goal of prototype PCB assembly is to quickly and cost-effectively create a working model of the PCB to identify and address any design flaws or issues before moving on to mass production.
How long does it take to assemble a prototype PCB?
The time it takes to assemble a prototype PCB can vary widely depending on several factors.
If the design is simple, the components are readily available, and the assembly process is straightforward, it might take anywhere from a few days to a week.
However, if the PCB is complex with a large number of components, or if some components have a long lead time for procurement, it could take two weeks or even longer.
Also, the capabilities and workload of the assembly facility can impact the turnaround time. On average, a typical prototype PCB assembly might take around 7 to 14 days.

How to reduce the assembly time of a prototype PCB?
To reduce the assembly time of a prototype PCB, you can consider the following steps:
1. Optimize the PCB prototype design: Ensure the layout is simple, components are placed logically, and traces are routed efficiently to minimize assembly complexity.
2. Reduce the assembly time of a prototype PCB need Prepare a detailed and accurate bill of materials (BOM): This helps in quick and error-free component sourcing.
3. Use standard and readily available components: Special or hard-to-find components can cause delays in procurement.
4. Reduce the assembly time of a prototype PCB need work with reliable component suppliers: Establish good relationships to ensure prompt delivery of components.
5. Streamline the assembly process: Have clear instructions and efficient workflows in place.
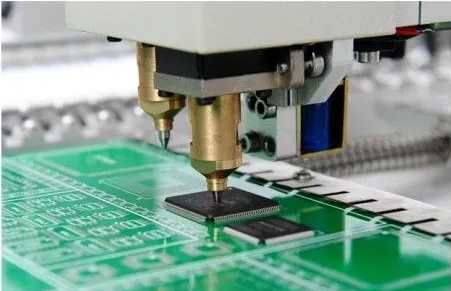
6. Automate the assembly process where possible: Such as using pick-and-place machines for surface mount components.
7. Have pre-assembled sub-modules or kits ready: This can speed up the overall assembly.
8. Conduct thorough design for manufacturing (DFM) checks before starting assembly: To identify and address potential assembly issues in advance.
9. Reduce the assembly time of a prototype PCB need prioritize critical components: Install them first to start testing earlier if possible.
10. Reduce the assembly time of a prototype PCB train and empower the assembly team: Ensure they are skilled and familiar with the assembly process.
What are some common techniques for reducing assembly time?
Some common techniques for reducing PCB assembly time include:
1. Component pre-placement: Arrange components in the correct orientation before assembly starts.
2. Multi-head assembly machines: These can place multiple components simultaneously, speeding up the process.
3. Grouping similar components: Place and solder components of the same type together to improve efficiency.
4. Use of stencils for solder paste application: Ensures accurate and quick paste deposition.
5. Preheating the PCB: Reduces the time needed to reach the soldering temperature.
6. Concurrent operations: For example, while some components are being soldered, others can be prepared for placement.
7. Optimize the soldering process: Select the most suitable soldering method (wave soldering, reflow soldering, etc.) based on the PCB design.
8. Implement lean manufacturing principles: Eliminate waste and streamline processes.
9. Use of fiducial marks on the PCB: Helps the assembly machine accurately position the components.
10. Pre-test and sort components: Ensure they are functional and correctly identified before assembly.

what is difference between prototype PCB assembly and batch PCB assembly?
The main differences between prototype PCB assembly and batch PCB assembly include:
1.The main differences between prototype PCB assembly and batch PCB assembly include quantity: Prototype PCB assembly is typically for a small number of units, often just one or a few, while batch PCB assembly is for a larger quantity of PCBs, usually dozens or hundreds and more.
2. The main differences between prototype PCB assembly and batch PCB assembly include cost: Prototype assembly is often more expensive per unit due to the setup costs and the need for quick turnaround. In batch assembly, the cost per unit is usually lower due to economies of scale.
3. Component sourcing: For prototypes, components might be sourced from various places quickly, even at a higher cost. In batch assembly, more effort is made to source components in bulk at the best price to reduce overall costs.
4. Quality control: Prototype assembly might have less rigorous quality control procedures as the main goal is to test the design. Batch assembly requires strict and consistent quality control to meet the standards for a large number of units.
5. The main differences between prototype PCB assembly and batch PCB assembly include timeframe: Prototype assembly is usually done as quickly as possible to enable early testing and design verification. Batch assembly has a longer lead time but is optimized for efficient production.
6. Design changes: Prototype assemblies are more likely to undergo design changes and iterations. Batch assemblies are based on a finalized and stable design.
7. The main differences between prototype PCB assembly and batch PCB assembly include tooling and fixtures: Prototype assembly might use less specialized or makeshift tooling and fixtures. Batch assembly often employs custom-made, high-precision tooling and fixtures for consistent and efficient production.


